MT-Organizer v1.2 - User Manual |
|
Contact GroupsMT-Organizer allows you to group your contacts using three pre-defined group labels that you can assign to your contacts: Friends, Family, and Business. It also allows you to define your own contact groups. This page outlines procedures for:
Adding contact groups topYou can create your own contact group definitions to assign to your contacts, and to use as a selector for viewing or printing contacts by group. To add a contact group top
This group name is now defined and will be available when adding, viewing, or printing contacts. 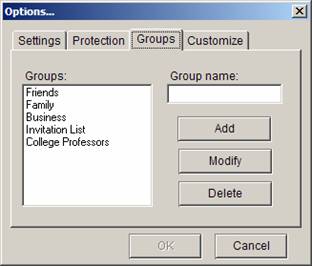
Figure 4.1 - Tools > Options > Groups Viewing contact groups topYou can view the contacts in a contact group by selecting one or more defined contact groups. To view a contact group top
The contacts from the groups you selected appear in the Quick Access area. 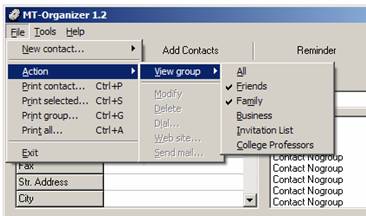
Figure 4.2 - File > Action > View Groups list Note: Contacts without an assigned group name will appear with any group you select and will appear multiple times in the list. Correct this by assigning group names to all contacts. Modifying contact groups topYou can modify group names you have defined. You cannot modify the three, pre-defined group labels: Friends, Family, and Business. To modify a contact group top
All contacts with the old group name now have the new name and the old group name is replaced on the Group drop-down menu on the screen. Printing contact groups topYou can select a single group or multiple groups of contacts for printing. To print contact groups top
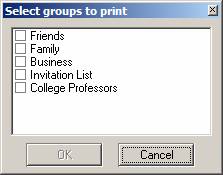
Figure 4.3 - File > Print Group list Deleting contact groups topYou can delete contact groups you have defined. You cannot delete the three, pre-defined group labels: Friends, Family, and Business Note: This function deletes only the group name, not the contacts assigned to this group. To delete a contact group top
Notes:
| |
| Last updated 4/24/09 | Top |